You have a brand, a creative project, a band, a business, or simply an idea you want to see on a piece of clothing. The problem is you don't know where to start, you're afraid you'll have to order 200 t-shirts all at once, or you don't know what type of file you need to prepare.
This guide was written for you. We'll walk you through everything, step by step, from start to finish.
You have a brand, a creative project, a band, a business, or simply an idea you want to see on a piece of clothing. The problem is you don't know where to start, you're afraid you'll have to order 200 t-shirts at once, or you don't know what kind of file you need to prepare.
This guide was written for you. We'll walk you through everything, step by step, from start to finish.
What merch is and who it's for
Merch is short for merchandise — products featuring your brand, design, or visual identity. It could be a t-shirt with your company's logo, a hoodie with the artwork from your music project, or a cap with the name of your event.
It makes sense for almost anyone or any project:
- Content creators who want to give something back to their community
- Bands and artists who want to sell at their shows
- Small clothing brands that are just starting out
- Companies that want uniforms or gifts for their team
- Associations, sports clubs and collectives
- Events, festivals, and workshops
The good news is you no longer need large quantities or big investments to get started.
Step 1: Define what you want to create
Before anything else, decide what type of piece you want to customize. The most popular items for merch are:
T-shirts: are the most affordable and versatile choice. They work well for large print designs, front or back.
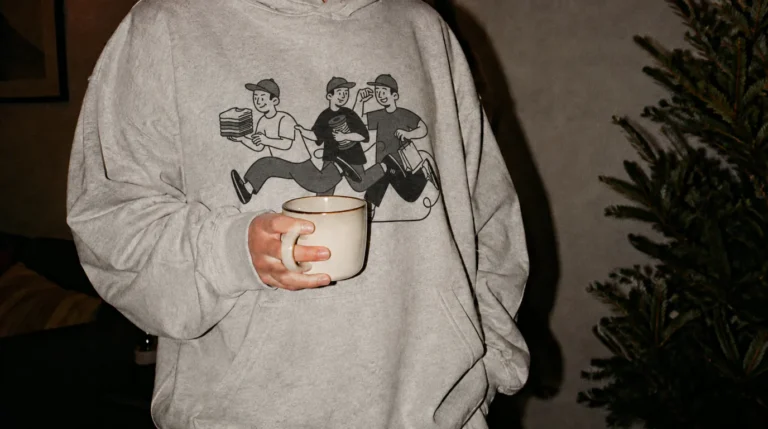
Hoodies and sweatshirts: convey more perceived value and are ideal for cold weather. They're the go-to choice for streetwear brands and creators with a loyal community.
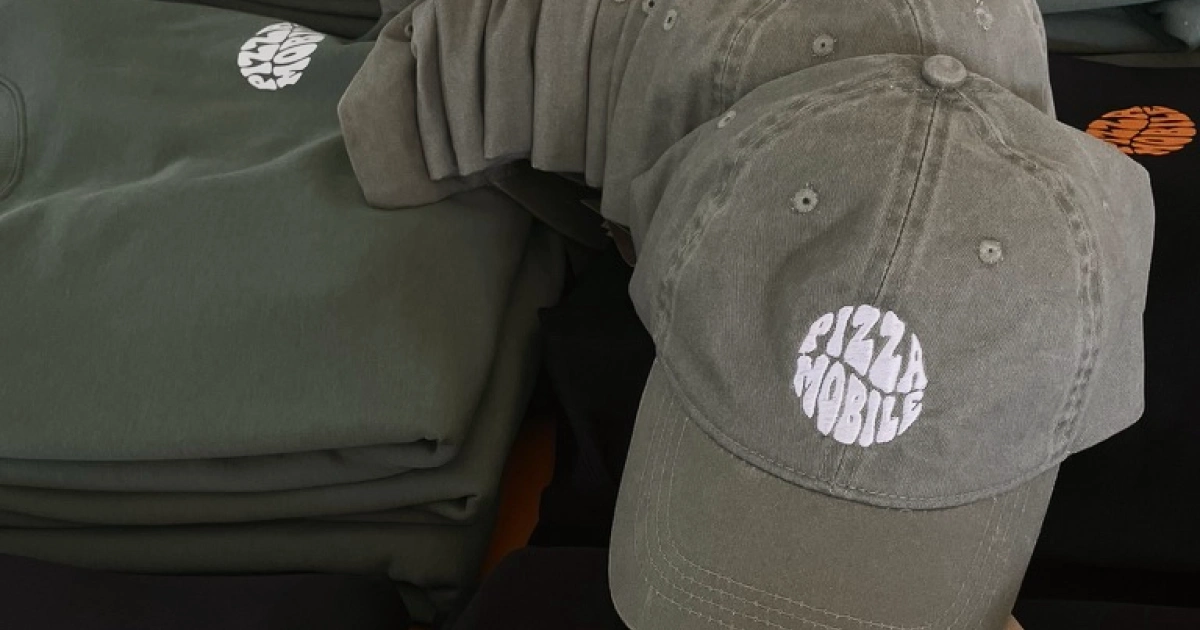
Caps: great for simple logos. Embroidery gives a premium finish to an accessory everyone wears.
Bags and accessories: a nice complement to a merch line without needing much extra investment.
Start with one or two pieces. Trying to launch everything at once is a common mistake early on that complicates management and drives up costs unnecessarily.
Step 2: Prepare your design
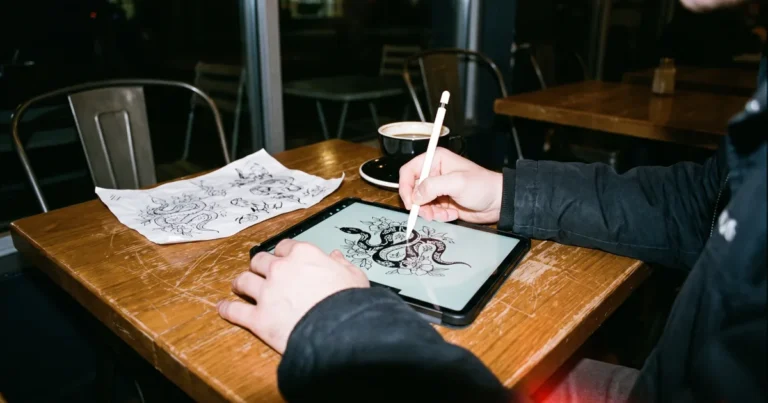
The design is the most important element of your merch. It doesn't need to be complex, but it does need to be technically well-prepared to look great on the final piece.
Recommended formats:
For DTF printing, the best option is a PNG file with a transparent background at 300 DPI, or a vector file in SVG or AI format. This ensures only your design gets printed, without a white or colored background around it.
For embroidery, an SVG or AI vector file with clean shapes and solid colors is ideal. Designs with gradients, shadows, or lots of fine detail don't work well for embroidery.
If you don't work with design, you have a few options:
- Use Canva or Adobe Express to create something simple
- Hire a freelance designer to prepare the file correctly
- Ask the Matter Studio team for help if you have questions about your file, or check out this article.
One important tip: if you only have your logo in low resolution or in a format like JPEG with a white background, don't use it directly. The final result will disappoint you. It's worth investing in getting the file done right before ordering.
Step 3: Choose the right technique
As we've already explained in another article, the choice between DTF printing and embroidery depends on your design and the type of item.
In short:
Choose DTF if your design has many colors, gradients, complex illustrations, or photographs.
Choose embroidery if your design is simple, with solid colors and clean shapes. Embroidery gives a premium finish, especially on caps, polos, and pieces that will get a lot of wear.
If you're not sure, describe your project when placing your order and our team will help you decide.
Step 4: Start with a small batch
One of the biggest fears for first-time merch creators is having to order large quantities. It makes total sense to worry about that, especially when you don't yet know if your design will resonate with your audience.
At Matter Studio, there are no minimum quantities. You can order a single piece to test the result before moving on to more units.
This approach has several advantages:
- You see the real result before investing more
- You can test different designs without risk
- You show the product to your audience before producing at a larger scale
- You reduce waste and financial risk
Start with 5 to 10 pieces, share them on social media, ask for feedback, and gauge the response. Only then move on to larger quantities.
Step 5: Think about your selling prices
If your goal is to sell your merch, you need to set a price that covers production costs and still generates a margin.
A simple way to calculate it: multiply the production cost by 2,5 to 3 to get the retail price. This multiplier covers shipping costs, possible returns, marketing, and profit margin.
For example, if a custom t-shirt costs you 15 euros to produce, the retail price should be between 35 and 45 euros for you to stay sustainable.
Don't try to compete on having the lowest price on the market. Your merch has a unique design and a story behind it. That justifies a higher price than a generic t-shirt.
Step 6: Present the product to your audience
Merch sells much more easily when your audience can see how it looks on a real person. Before you launch, invest some time in quality photos.
You don't need a professional photographer to get started. Here are some practical suggestions:
- Photograph the piece in a natural setting, with good lighting
- Use real people from your community as models
- Show close-up details of the print or embroidery
- Share the creation process in stories or a short video
Behind-the-scenes content, like videos of the production process or the order arriving, tends to get much more organic reach than static product photos.
What to avoid when creating merch for the first time
Working with many different customers, we see the same mistakes come up again and again. Here are the most common ones:
Using low-resolution files. The final result ends up blurry or pixelated, and there's nothing to be done once it's produced.
Choosing the wrong technique for the design. A logo with a gradient sent for embroidery will lose all its detail. Read the guidelines or ask for help before confirming.
Ordering too many units right from the start. Start small, validate, and then scale.
Not factoring in shipping costs when setting prices. If you're selling online, shipping costs need to be included in your pricing equation.
Not owning the rights to the design. If you use images or elements from others without permission, you could run into legal trouble. Only use designs that are yours or that you're licensed to use.
Ready to get started?
Creating custom merch in Portugal has never been more accessible. You don't need big upfront investments, you don't need stock, and you don't need minimum quantities.
You need a good idea, a well-prepared file, and a production partner you can trust.
Explore our catalog and start creating today.