Want to customize a t-shirt, hoodie or cap with your design, but don't know how to prepare the file?
It's the most common question we get at Matter Studio. And that's normal, nobody teaches you this in school.
The good news: you don't need to be a professional designer. You just need to follow a few simple rules to get a perfect result.
In this guide, we explain everything you need to know, without unnecessary technical jargon.
What is a “file ready for customization”?
It's the image or design you're going to apply to your clothing piece. It can be a logo, an illustration, a photo, or text.
For the customization (whether DTF printing or embroidery) to come out with quality, that file needs to meet a few technical requirements.
Think of it this way: if you take a photo with your phone and zoom in 10 times, it gets blurry. The same happens with printing — if the file doesn't have enough quality, the result will look amateur.
File format: vector whenever you can
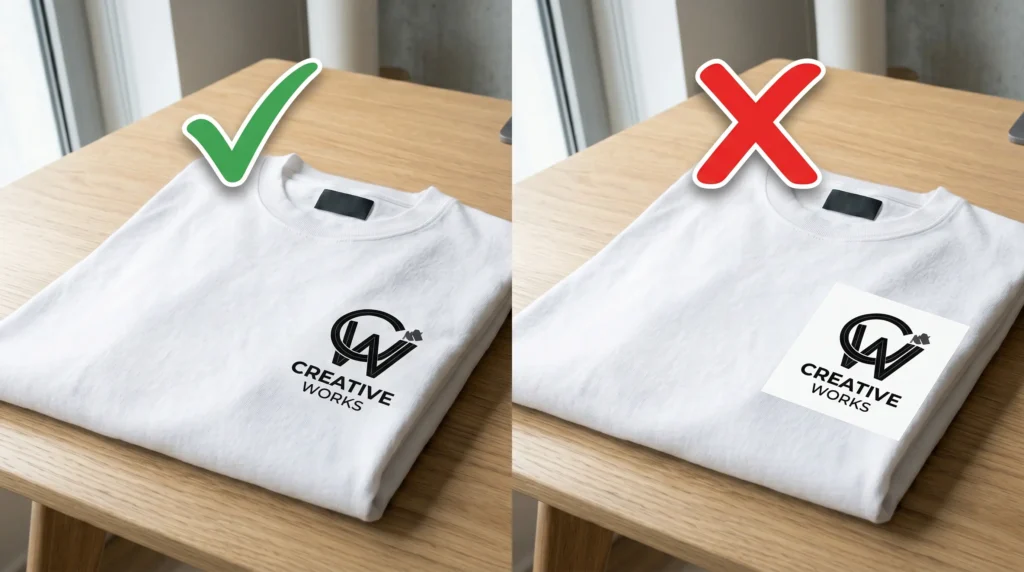
Not all formats work. Here are the most common ones and when to use each:
Vector, SVG, AI, or PDF (ideal for logos and illustrations): scales to any size without losing an ounce of sharpness. If the design was made in Illustrator, CorelDRAW, or Canva Pro, export it this way and you'll never have to think about resolution again.
PNG (for photos and anything that isn't vector): supports a transparent background, which is what prevents that white square around the design. Export at 300 dpi at the final print size.
JPG and WEBP (accepted, but avoid): JPG doesn't support a transparent background, so the white background will get printed on the item. If a JPG is all you have, let us know and we'll take care of the cutout.
Formats we don't accept: EPS, PSD, GIF, BMP, HEIC, and Word or PowerPoint files. We accept .svg, .ai, .pdf, .png, .webp, .jpg, and .jpeg.
Resolution: 150 dpi minimum, 300 ideal
DPI stands for “dots per inch”, meaning how many detail points there are per square centimeter.
The rule is simple: at the actual print size, the file needs to be at least 150 dpi, and 300 dpi is what guarantees the best result. With vector files this question doesn't even come up, since there's no resolution to fall short on.
What does this mean in practice? If you want a print of 25 cm × 30 cm on the chest of the t-shirt, the file should be approximately 2953 × 3543 pixels.
Don't worry about doing the math, most editing programs (Photoshop, Canva, GIMP) let you set the size in centimeters and the resolution in DPI at the same time.
The most common mistake: using a small image found on Google and stretching it. The result is a pixelated, blurry print.
Transparent background: why and how
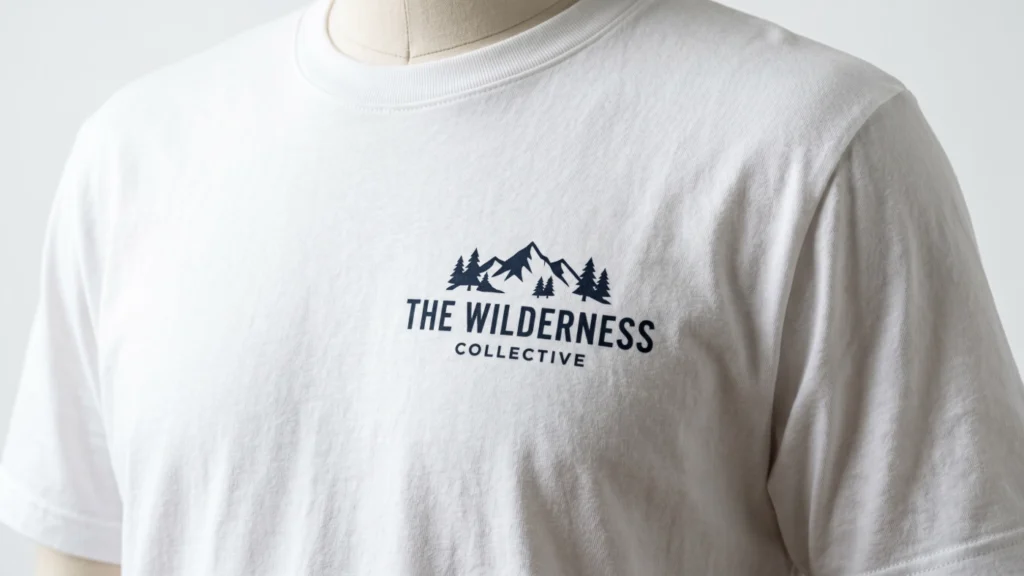
If your design has a white background you don't want showing on the piece, you need to remove that background before sending it.
Example: you have a round logo on a white square. If you send it like this, the piece will end up with a white rectangle with the logo in the middle. That's not what you want.
How to fix it:
If you use Canva, when exporting, select “Transparent background” (available in the Pro version). In Photoshop or GIMP, erase the background and save as PNG. There are also tools like remove.bg or Adobe Express, where you can remove backgrounds automatically and for free.
Tip: after removing the background, zoom in on the image and check for any “leftover” bits around the edges, tiny white pixels that weren't erased. Those pixels will show up in the print.
Colors: RGB and what you should know
Send your files in RGB mode (Red, Green, Blue). It's the standard for screens and design software.
There's one important thing to keep in mind: the colors you see on screen may look slightly different once printed on fabric. This happens with any printing method, DTF, screen printing, or offset.
Very light colors (light yellow, soft beige) may look slightly different on dark fabrics. Neon or fluorescent colors generally can't be reproduced with DTF.
If the exact color is crucial to you (for example, for your company's logo), send the Pantone reference along with the file in the order notes.
Design size: where and how big?
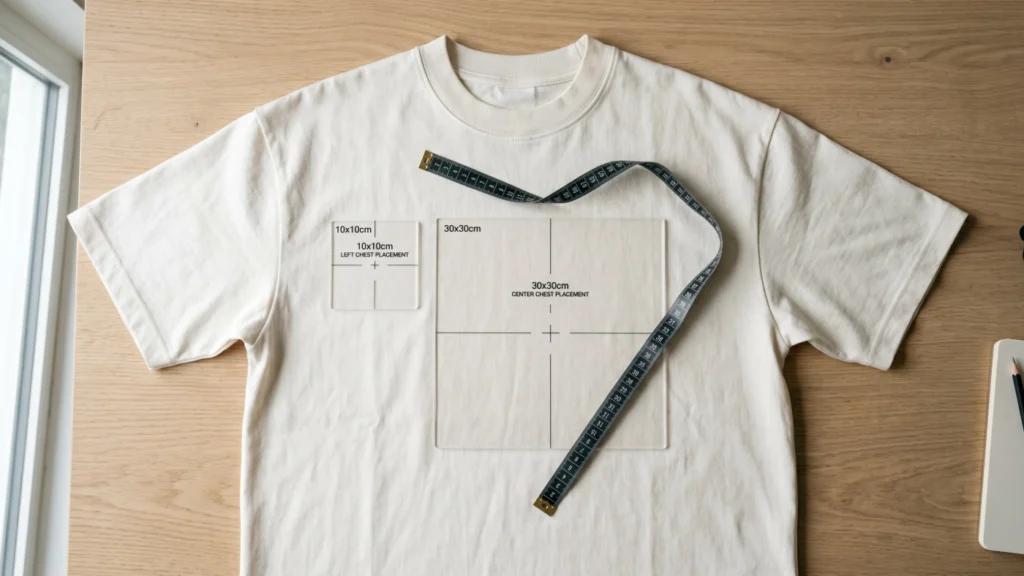
Before preparing the file, think about where you want to place the customization:
Left chest: up to 12 × 12 cm. Great for small logos.
Center chest: up to 12 × 12 cm. For a large front print, the full front area goes up to 28 × 28 cm.
Back: up to 32 × 36 cm.
At Matter Studio, you can set the placement and size of the customization directly on the site when you place your order. But having the file already at the correct size helps ensure the result is exactly what you imagined.
Text and fonts: convert to curves
If your design includes text (a name, a phrase, your brand name), convert the fonts to curves or outlines before exporting.
Why? Because if you send the file with editable fonts and we don't have that font installed, the program will replace it with another one. And the result will be different from what you expected.
In Illustrator: Select all → Type → Create Outlines. In CorelDRAW: Select all → Object → Convert to Curves. In Canva: when exporting as PNG or flattened PDF, the fonts get automatically "locked in".
DTF Printing vs. Embroidery: is the file different?
Yes. The requirements change slightly depending on the customization technique.
For DTF (Direct to Film) printing: vector whenever possible; if it's an image, PNG with a transparent background at 300 dpi. Works well for designs with lots of colors, gradients, and photographs.
For embroidery: ideally a vector file (AI, SVG, or PDF). Designs with lots of fine detail or gradients don't work well for embroidery, since the needle can't reproduce smooth transitions. Below 1,5 mm of stroke thickness we can't guarantee definition, and text smaller than 5 mm in height may not come out legible.
At Matter Studio, we work with both techniques. If you're not sure which is best for your design, send us the file and we'll advise you.
The 5 most common mistakes (and how to avoid them)
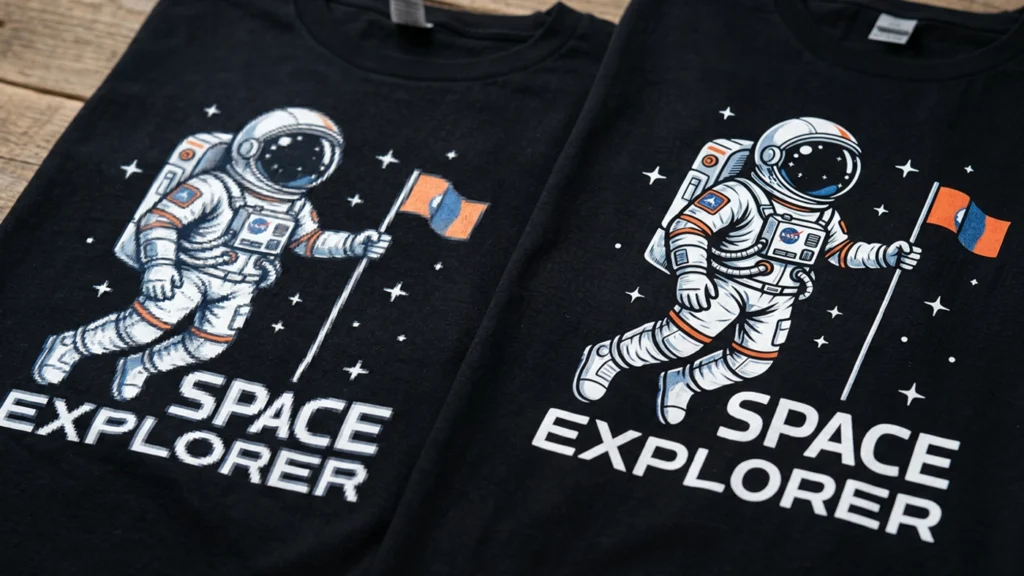
1. Image taken from Google with low resolution. If you found an image online and want to use it, check that it's at least 150 dpi at the size you need, ideally 300. If it isn't, look for the original version or recreate the design.
2. White background in PNG files. It often looks like the background is transparent, but when you open it in the design program, there's the white square. Always check before sending.
3. Text not converted to outlines. If you send a PDF with editable fonts that we don't have installed, the text will change. Always convert.
4. File too small. If your file is 500 × 500 pixels and you want a 30 cm print, it'll come out pixelated. Create the design at the right size from the start.
5. Ignoring embroidery limits. If you choose embroidery and your design has 15 colors and details of 0,5 mm, the result won't look good. Simplify it or go with DTF instead.
Quick checklist before sending your file
Before placing your order, confirm these points:
Is the file in vector format (ideal) or PNG at 300 dpi? Is the resolution at least 150 dpi, ideally 300? Is the background transparent (if you don't want a background on the item)? Have the fonts been converted to curves/outlines? Is the size correct for the print location? Did you check for stray pixels or "debris" along the edges?
If you answered yes to everything, your file is ready.
Don't have the perfect file? We can help.
If your case is an illustration or your own artwork, we have a dedicated guide for artists: printing your illustrations, with what changes from screen to fabric.
If you don't have the file in ideal condition, don't give up on your order. Send us what you have to geral@matterstu.com and our team can help you prepare the design so the result looks professional.
You can customize your piece directly on our site, choose the product, upload the design, and set the position. It's simple, fast, and with no minimum quantities.
If you have any questions, reach out to us through Customer Support.