Want to create merch for your brand, project, or community, but don't know where to start? This guide walks you through it, step by step, no complications.
Why create merch in 2026?
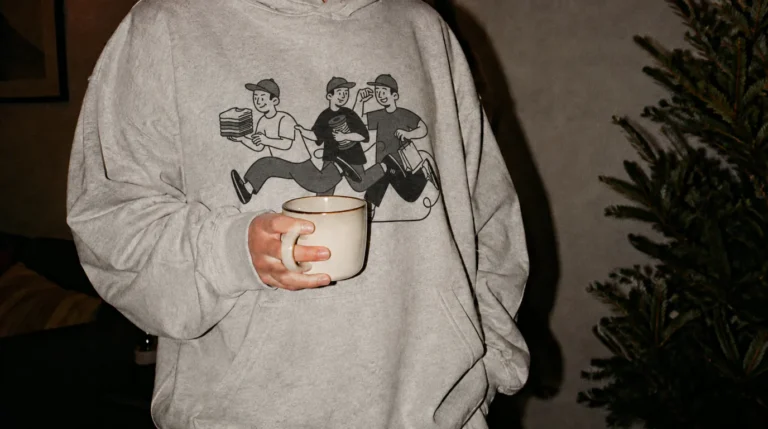
Merch is no longer just "t-shirts with a logo." Today, merchandise is an extension of the identity of whoever creates it, whether it's a personal brand, a YouTube channel, a local business, or a creative collective.
Creating merch lets you turn your visual identity into something physical that people can wear, use, and share. It's a way to generate revenue, strengthen your community, and give your brand visibility without relying solely on digital.
And the best part? You no longer need thousands of dollars, warehouses full of stock, or contacts in the textile industry to get started.
Step 1: Define your visual identity
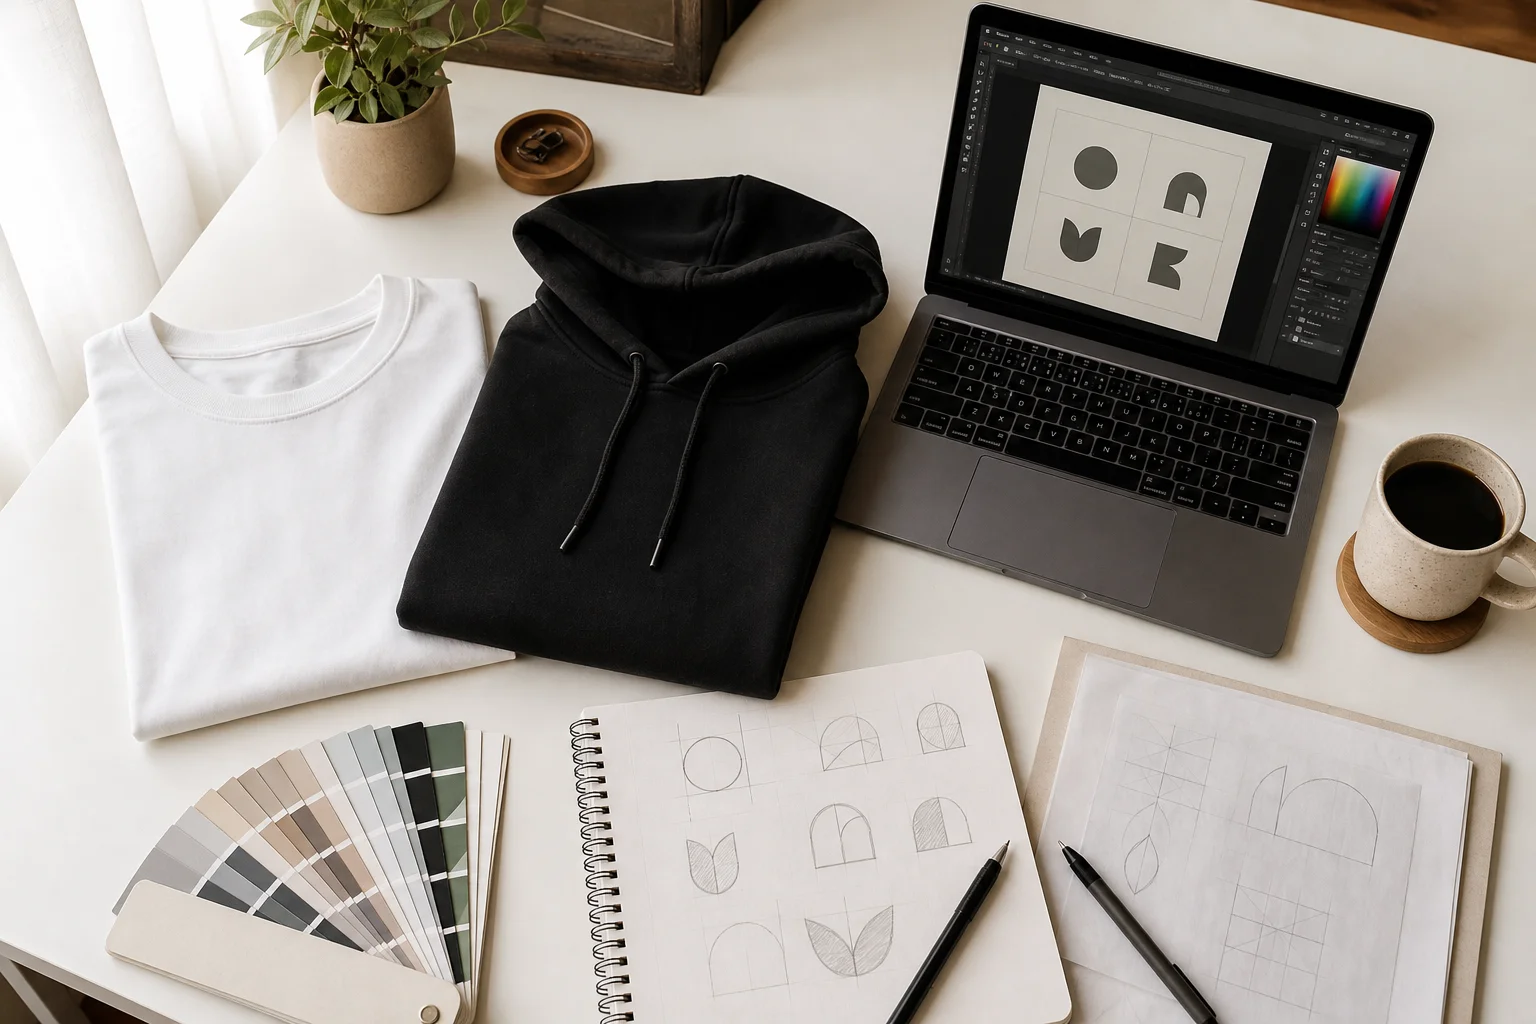
Before thinking about products, think about your brand. Merch that works has a clear, consistent visual identity. That means having at least the following defined:
Logo: It doesn't need to be complex. Some of the most iconic logos in the world are extremely simple. What matters is that it's versatile and works well across different sizes and backgrounds.
Color palette: Choose 2 to 4 colors that represent your brand. You'll need them to choose the colors of the pieces and make sure everything communicates consistently.
Typography and graphic style: Do you have a more minimalist style? Illustrative? Bold and urban? Define this before moving on to designing the pieces.
If you don't have any of this yet, don't stress. Tools like Canva or Adobe Express let you create a basic visual identity without being a professional designer. And if you want something more elaborate, you can always hire a freelance designer or use our design service through the email geral@matterstu.com.
Step 2: Create your designs
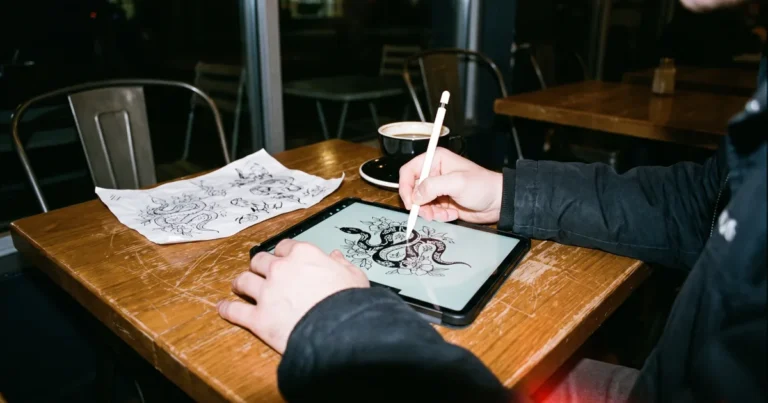
This is where the magic happens. Design is what sets generic merch apart from merch people actually want to buy.
Some tips for designs that sell:
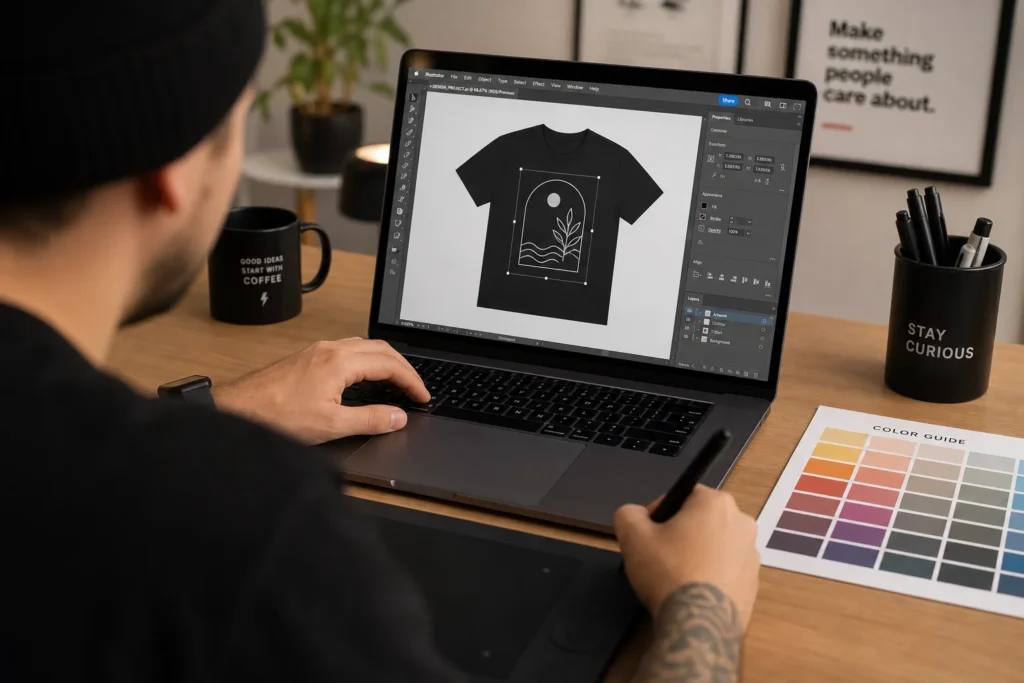
Think about the final product. A design that looks good on screen might not work on a t-shirt. Consider the print size, the contrast with the fabric color, and the placement on the piece.
Less is more. Clean, well-executed designs sell better than cluttered compositions. This doesn't mean you have to be minimalist, but every element should have a purpose.
File formats. For printing, you'll need high-resolution files, ideally PNG with a transparent background, at 300 DPI. For embroidery, vector files (AI, SVG, or EPS) are best suited.
Learn more here.
Test before producing. Make digital mockups to see how the design looks on the piece. There are free tools for this, or you can use the online editor on platforms like Matter Studio, which shows you a real-time preview.
Step 3: Choose the right products
You don't need to launch 20 different products. In fact, you shouldn't. Start with the essentials and expand as demand grows.
The most popular products for those starting out with merch are:
T-shirts: The classic. They're affordable, universal, and work for any kind of brand. Choose models with good weight (180g to 240g) to convey quality.
Hoodies and sweatshirts: Pieces with higher perceived value and better margins. Ideal for fall/winter or for those who want a premium product.
Polos: A versatile option that works both for brands with a more premium positioning and for team uniforms or corporate events. With embroidery on the chest, a custom polo instantly conveys professionalism and quality.
Caps: Great as a complement to the catalog. They work particularly well with embroidery and add a lifestyle touch to the brand.
Bags and accessories: Tote bags, pouches, and other accessories are good entry-level options, with an affordable price for the customer and good visibility for the brand.
What matters is that the base pieces (the so-called "blanks") are quality. Nobody wants to wear a t-shirt that shrinks after the second wash or a hoodie that pills after a week.
If you're not sure which fabric weight to choose for each piece, we have a dedicated guide: what weight to choose for t-shirts, sweatshirts, and hoodies.
Step 4: Choose the personalization technique
There are several techniques for customizing clothing, and each has its advantages. The two most relevant for anyone wanting to create merch are:
DTF (Direct to Film) Printing
It's the most versatile technique today. It lets you print any design, with unlimited colors, gradients, photographs, and fine details, directly onto the fabric. It works on virtually all fabric types and colors.
It's the right choice for colorful designs, detailed illustrations, and for anyone who wants maximum creative freedom without technical restrictions.
Embroidery
It gives a premium, tactile finish that printing can't replicate. Ideal for logos, short text, and simpler designs. Works exceptionally well on caps, polos, and sweatshirts.
If your brand has a more premium or corporate positioning, embroidery can be the main technique. Many brands combine both — embroidery on the chest, DTF print on the back, for example.
Step 5: Produce without needing stock
This is probably the point that changes the game the most for those just starting out.
Traditionally, producing merch meant ordering hundreds of units, managing inventory, and hoping to sell everything. That model is risky, especially when you don't yet have an established audience.
Today, there are platforms that let you produce on demand, or with very low minimum quantities, eliminating the risk of being stuck with unsold stock.
How it works at Matter Studio
At Matter Studio, the process was designed specifically to solve this problem. Here's how it works:
- Choose your piece: Select the model, color, and size in the online catalog. T-shirts, hoodies, sweatshirts, caps, bags, and more.
- Upload your design: Upload your file directly in the online editor and position the artwork wherever you want on the piece.
- Review and order: Confirm the preview and place the order. No minimum quantities.
- Receive it at home: Production is made in Portugal, with delivery in 7 to 14 days.
You don't need to talk to anyone, ask for quotes, or wait weeks for a reply. The process is entirely online and self-service.
Step 6: Set the price for your merch
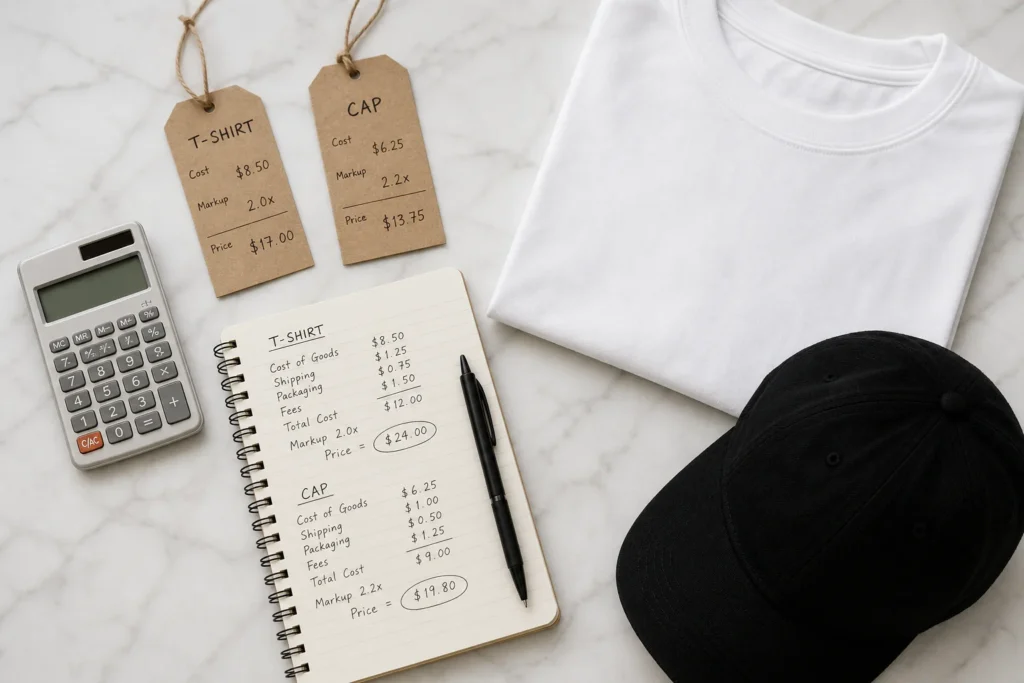
Your pricing strategy depends on your positioning, but here's a simple formula to get started:
Production cost + desired margin = selling price
Keep in mind that production cost includes the base item, personalization, shipping, and packaging. Margins vary, but for independent brand merch, margins between 50% and 100% over cost are common and sustainable.
If you sell directly to the consumer (through your online store or social media), you keep the full margin. If you sell through retail or marketplaces, you'll have to share part of that margin.
One tip: start with fair prices. Merch doesn't need to be cheap, but the price has to make sense for the quality you deliver. If you use quality blanks and premium customization techniques, the customer will notice the value.
Step 7: Launch and promote
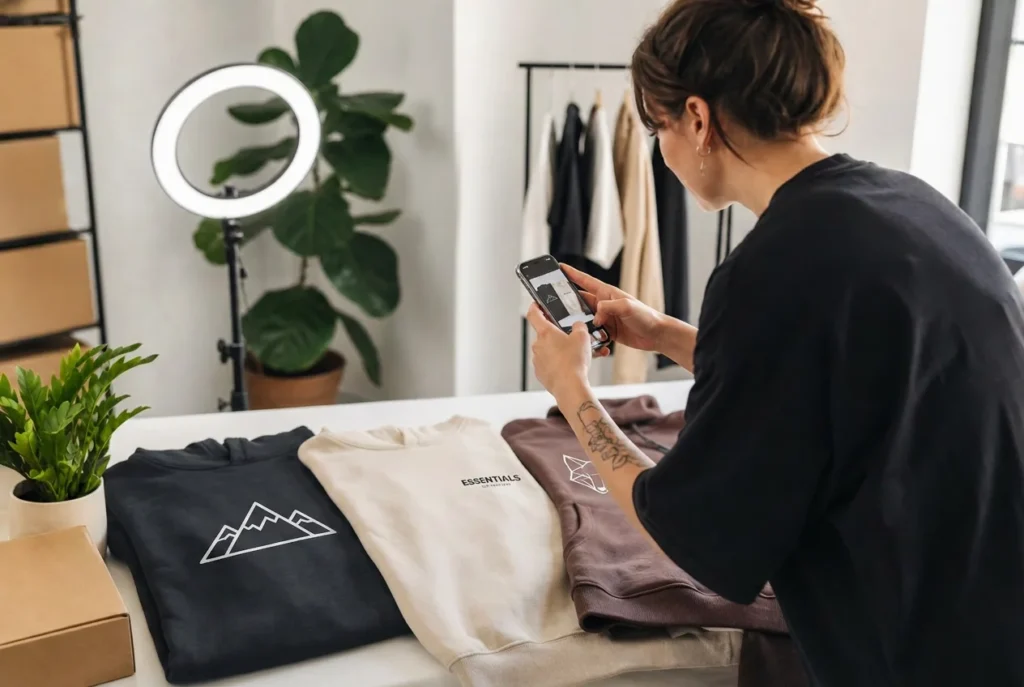
Having merch produced is only half the job. You need to show it to the world.
Product photography: Invest in good photos. You don't need a professional studio, natural light, a clean background, and someone wearing the piece already make a huge difference.
Social media: Show the process, the behind-the-scenes, the pieces being worn. Content that humanizes the brand is what converts the most.
Drop releases: Instead of having everything available all the time, try launching limited collections. It creates urgency and makes each piece more desirable.
Community: Involve your followers in the process. Ask them what colors they prefer, what products they want to see, what designs they'd like. Merch made with the community practically sells itself.
Common mistakes when creating merch (and how to avoid them)
Starting with too many products. Choose 2 to 3 items, validate demand, and only then expand.
Ignoring the quality of the blanks. The base clothing is just as important as the design. An amazing print on a low-quality t-shirt won't drive repeat purchases.
Not having a defined visual identity. Merch without visual coherence looks amateurish. Before producing, define your brand.
Being afraid to start. This is exactly the advantage of platforms with no minimum quantities, you can test with one piece, validate the concept, and scale afterward.
Why Matter Studio is different
There are several ways to produce merch, and the truth is not all of them work for those just starting out. Many print shops require minimums of 50 or 100 pieces. Others have complex processes, with quotes by email and long turnaround times.
O Matter Studio was built to work differently:
No minimum quantities. You can order a single piece. This changes everything for anyone who wants to test designs, validate ideas, or just start small.
100% online process. You pick the piece, upload your design, order it, and get it delivered. No emails, no waiting, no middlemen.
Made in Portugal. All production is done locally, which means rigorous quality control and short delivery times, between 7 and 14 days.
Premium-quality blanks. The base garments are selected for weight, cut, and durability. These aren't generic fast-fashion pieces.
DTF printing and embroidery. The two most relevant techniques for merch, available on the same platform.
Volume discounts. If you decide to scale up, the per-unit price drops. The model grows with you.
Free shipping in Portugal on orders from €80. And the option to pay in 3 installments to make larger orders easier.
For content creators, independent brands, small businesses, or anyone who wants to turn an idea into a physical product, it's probably the simplest and most direct way to do it in Portugal.
Conclusion
Creating merch from scratch in 2026 is more accessible than ever. You don't need big investments or experience in the textile industry. You need a visual identity, purposeful designs, and a platform that makes the process simple.
The path is clear: define your brand, create your designs, choose the right products, and produce with no risk. Start small, test, learn, and scale.
If you're ready to take the first step, explore the Matter Studio catalog and start customizing your first piece today.
Have questions about how to prepare your files? Check out our guide on how to prepare your file for customizing clothing.